
Introduction
Grilling beef ribs is a time-honored tradition that brings out their natural, rich flavors. Unlike other cooking methods, grilling adds a smoky, charred essence that complements beef ribs' tender, juicy meat. Whether it's a backyard barbecue or a special occasion, grilling transforms this hearty cut into a culinary masterpiece that's both flavorful and satisfying.
What sets grilled beef ribs apart is the way the direct heat of the grill caramelizes the exterior, locking in moisture and creating a perfect crust. The sizzling sounds, smoky aromas, and tantalizing sight of ribs cooking on the grill make this method not just about cooking but the experience itself.
Grilling is also versatile, allowing for various flavor profiles. The grill amplifies every seasoning choice, from classic barbecue sauces to dry rubs packed with spices. This method is ideal for beef back and short ribs, as the controlled heat helps tenderize the meat while enhancing its robust beefy flavor.
Whether you're a seasoned griller or a beginner, mastering grilled beef ribs is a rewarding culinary adventure. This guide will take you through the essentials of preparation, seasoning, and cooking techniques to achieve smoky and tender ribs every time.
Types of Beef Ribs for Grilling
When grilling beef ribs, the cut choice can make all the difference. The two main types are back and short ribs, each offering unique characteristics and cooking potential.
Back ribs come from the upper portion of the cow, near the spine. They're often left over after the ribeye or prime rib is removed, which means they're leaner with less meat but packed with flavor. Back ribs are perfect for grilling because they absorb smoky flavors and develop a delicious char.
Short ribs, on the other hand, come from the lower rib section. These ribs are meatier and have a higher fat content, which makes them incredibly tender when cooked low and slow. While short ribs are often braised, they can be grilled for a bold, smoky finish.
When selecting ribs, look for cuts with even marbling and minimal excess fat. Choose back ribs for a quicker grilling experience or short ribs for a heartier, melt-in-your-mouth result.
Essential Equipment and Tools
Grilling beef ribs requires the right tools and equipment to ensure the best results. Start by choosing your grill:
- Gas grills offer convenience and precise temperature control, making them ideal for consistent cooking. They're perfect for beginners who want a more straightforward setup.
- Charcoal grills, on the other hand, deliver a more traditional smoky flavor. They require more attention but reward you with the authentic taste of wood-fired ribs.
No matter the grill type, a meat thermometer is essential for checking internal temperatures and ensuring perfectly cooked ribs. Opt for a digital probe thermometer for accuracy.
Tongs are another must-have. Look for long, sturdy ones to safely flip and move the ribs without piercing the meat, which can cause juices to escape.
Consider using a drip pan to catch fat drippings and prevent flare-ups, especially on charcoal grills. These simple tools ensure a smooth grilling process and mouthwatering results.
Ingredients for Perfect BBQ Beef Ribs
Creating perfect BBQ beef ribs starts with the right ingredients. A flavorful dry rub is essential to season the meat and build a tasty crust during grilling. Combine spices like paprika, garlic powder, onion powder, brown sugar, and cayenne pepper to balance smoky, sweet, and spicy flavors. Adjust the spice levels to suit your taste.
No BBQ ribs are complete without the proper BBQ sauce. This is where you can truly customize the flavor. A classic sauce combines tangy ingredients like vinegar, sweet elements like honey or molasses, and a smoky depth from ingredients like liquid smoke.
Applying the sauce at the right time is critical. Brush it on during the final 10-15 minutes of cooking to allow it to caramelize without burning. The rub and sauce create a delicious flavor profile that makes every bite unforgettable.
Preparing the Ribs
Preparation is key to grilling tender and flavorful beef ribs. Start by removing the membrane from the underside of the ribs. This thin, tough layer prevents seasonings from fully penetrating the meat and can make the ribs chewy. Use a knife to loosen one edge of the membrane, then grip it with a paper towel for better traction and pull it off in one piece.
Next, focus on marinating the ribs to enhance flavor and tenderness. Create a simple marinade with soy sauce, olive oil, lemon juice, and spices like paprika and black pepper. This combination tenderizes the meat and adds layers of taste. For maximum flavor infusion, let the ribs marinate in the refrigerator for at least 4-6 hours, ideally overnight.
If you prefer a dry rub over a marinade, generously coat the ribs with your spice mix after removing the membrane. Rub it into the meat, ensuring even coverage. Let the seasoned ribs rest in the fridge for 1-2 hours to allow the flavors to absorb before grilling. Proper preparation ensures your ribs are packed with flavor and ready to grill perfectly.
Setting Up the Grill
Proper grill setup is crucial for perfectly grilled beef ribs. Start by preheating your grill to create a consistent cooking environment. Preheat on medium heat for 10-15 minutes if using a gas grill. For charcoal grills, light the coals and allow them to turn white-hot before arranging them on one side of the grill for indirect cooking. This method prevents burning and allows the ribs to cook slowly and evenly.
Add wood chips like hickory, mesquite, or applewood to infuse a rich, smoky flavor. For a gas grill, place the soaked wood chips in a smoker box or wrap them in foil with small vent holes and place them over the burners. On a charcoal grill, sprinkle the chips directly on the hot coals.
Maintain a consistent grill temperature of 250-275°F (121-135°C) throughout cooking, adjusting vents or burners as needed. This low-and-slow approach ensures tender, flavorful ribs.
Cooking the Ribs
Grilling beef ribs requires patience and a low-and-slow method for the best results. Start by placing the prepared ribs on the grill, bone-side down, over the indirect heat zone. This ensures the meat cooks evenly without burning. For consistent cooking, maintain the grill temperature at 250-275°F (121-135°C).
For added moisture and tenderness, consider wrapping the ribs mid-cook. After about 2-3 hours of grilling, when the ribs develop a deep brown color and a crusty exterior, wrap them tightly in aluminum foil. Add a splash of apple juice, beef broth, or barbecue sauce before sealing to enhance moisture and flavor. Place the wrapped ribs back on the grill for another hour or two.
To check for doneness, use a meat thermometer. The internal temperature should read 190-203°F (88-95°C), the ideal range for tender, juicy ribs. Additionally, perform a visual and physical check: the meat should pull back slightly from the bones, and you should be able to wiggle a bone with minimal resistance.
For the final touch, remove the foil and place the ribs back on the grill for 15-20 minutes. This allows the exterior to caramelize. Brush generously with barbecue sauce during this phase, flipping the ribs once or twice to ensure an even glaze. Serve the ribs hot and enjoy the perfect smoky, tender, and flavorful barbecue goodness blend.
Adding BBQ Sauce
Adding BBQ sauce to grilled ribs is the finishing touch that takes their flavor to the next level. Timing is key to avoiding burning the sauce, mainly if it contains sugar. Begin basting the ribs with BBQ sauce during the last 15-20 minutes of grilling. This allows the sauce to heat through and caramelize without charring.
Use a silicone basting brush to apply the sauce evenly across the ribs. Flip the ribs occasionally and reapply the sauce to create a thick, sticky glaze. Be careful not to overdo it—too much sauce can overwhelm the smoky flavor of the meat.
To prevent sugar from burning, maintain a temperature of around 250-275°F (121-135°C) and avoid placing the ribs directly over high flames. For extra flavor, serve BBQ sauce on the side so guests can add more if desired. Perfectly basted ribs should be glossy, slightly charred, and irresistibly delicious.
Resting and Serving
Resting the ribs after grilling is crucial for ensuring tender, juicy meat. Once the ribs are off the grill, place them on a cutting board and tent loosely with aluminum foil. Allow them to rest for 10-15 minutes. This resting period allows the juices to redistribute throughout the meat, preventing them from spilling out when slicing.
For slicing, use a sharp knife to cut between the bones. Lay the ribs bone-side down to ensure a steady grip and clean cuts. Arrange the sliced ribs on a platter for a visually appealing presentation. To enhance the look, garnish with fresh herbs like parsley or sprinkle with coarse salt for added texture.
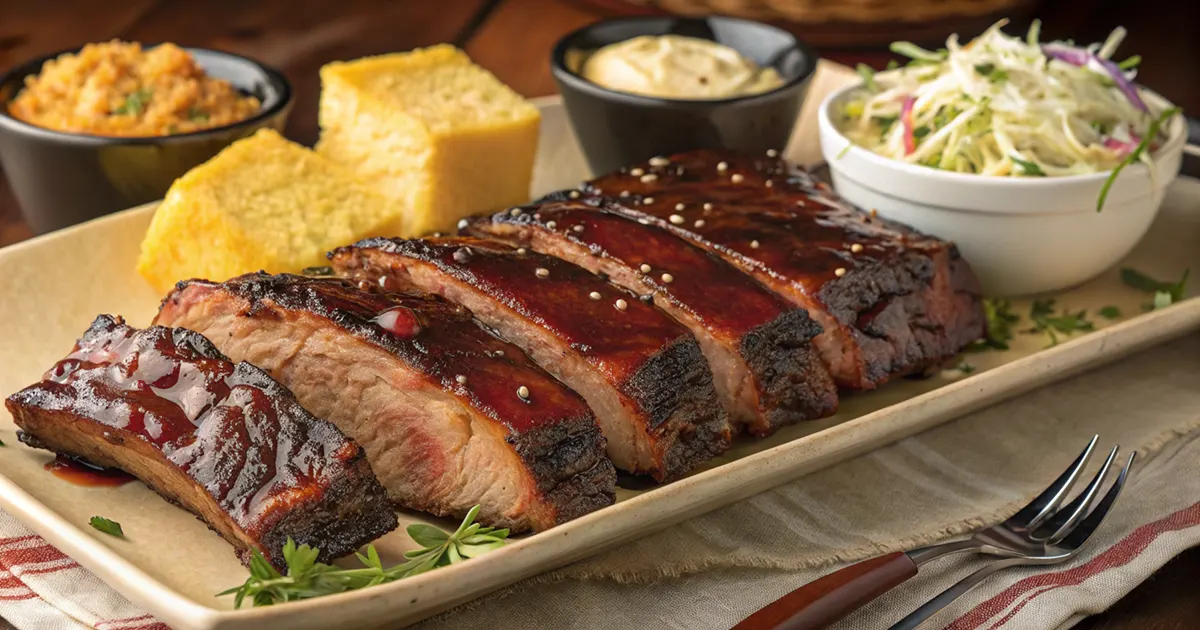
Serve the ribs alongside your favorite BBQ accompaniments, such as baked beans, coleslaw, or grilled vegetables. A warm loaf of cornbread or a crisp, refreshing salad makes the meal even more satisfying.
Best Side Dishes for BBQ Beef Ribs
To complement the rich, smoky flavor of BBQ beef ribs, a variety of side dishes can help balance the meal. Mashed potatoes are a classic choice, offering creamy, buttery goodness that pairs perfectly with the ribs. Coleslaw adds a crisp, refreshing texture for a tangy contrast, enhancing the overall flavor profile.
Cornbread is another popular option, with its slightly sweet flavor providing a nice counterpoint to the savory, smoky ribs. You can also serve grilled vegetables like corn on the cob, bell peppers, or asparagus for a fresh, charred complement to the meal.
If you're looking for something hearty, baked beans are a great side, with their sweetness and rich flavor marrying well with the smokiness of the beef. To complete the BBQ feast, pickles or a simple green salad can provide a touch of acidity to cut through the richness of the ribs.
Pro Tips for Grilling Beef Ribs
Common Mistakes to Avoid:
- Overcooking: Grilling beef ribs too quickly over direct heat can lead to tough, dry meat. Avoid high temperatures and use indirect heat to cook low and slow ribs. This ensures tenderness and retains moisture.
- Skipping the Rest Period: Let your grilled ribs rest for 10-15 minutes after removing them. This helps the juices redistribute, making the meat more tender and flavorful.
- Not Removing the Membrane: The silver skin (membrane) on the back of the ribs can be tricky and chewy. Permanently remove it before cooking to ensure tender, flavorful ribs.
- Not Monitoring Temperature: A meat thermometer is your best friend. Cooking beef ribs to the proper internal temperature (190°F–203°F) ensures that they are tender and done to perfection.
Enhancing Flavors with Unique Rubs or Sauces:
- Custom Rubs: Experiment with different spices and seasonings. Adding brown sugar, smoked paprika, garlic powder, and chili powder can create a sweet and smoky rub. Adjust the heat level by adding cayenne pepper or crushed red pepper flakes.
- Signature Sauces: While traditional BBQ sauce is a classic, consider making your own or using regional variations. Try mustard-based, vinegar-based, or even teriyaki sauce for a unique twist on flavor. Basting ribs with a sauce that complements your rub can elevate the overall taste.
FAQ
1. How do you know ribs are done?
To ensure your ribs are cooked perfectly, you can check for doneness using temperature and visual cues. First, use a meat thermometer; the internal temperature for fully cooked beef ribs should be around 190°F to 203°F for tender, pull-apart results. If you don't have a thermometer, check the texture by gently tugging on the bones. Your ribs are done if they feel loose or the meat pulls away quickly. Lastly, a bit of crispy caramelization on the outside, especially on the edges, indicates that your ribs are ready.
2. Should ribs be grilled bone-side up or down?
When grilling beef ribs, starting with the bone side down is recommended. This allows the bones to absorb some heat from the grill, ensuring the meat remains tender. After a few hours of indirect grilling, you can flip them bone-side up briefly, allowing the top to cook and develop a nice crust. This method ensures both even cooking and great flavor.
3. How to keep ribs moist on the grill?
To prevent your ribs from drying out while grilling, maintain a low-and-slow cooking process with indirect heat. The key is not to cook the ribs directly over the flame; instead, place them on the cooler side of the grill. To retain moisture, wrap the ribs in foil during part of the cooking process. This traps steam and keeps the meat moist. To keep them juicy and flavorful, you can also baste the ribs periodically with a marinade or BBQ sauce. Finally, let the ribs rest after grilling to allow the juices to redistribute.
Conclusion
Grilling beef ribs is rewarding and brings out the deep, smoky flavors and tender textures everyone loves. By following the steps outlined—from choosing the proper cut of ribs to applying the perfect rub and grilling low and slow—you'll be able to create mouthwatering ribs with a crispy exterior and juicy interior. The key is to ensure you use indirect heat, allow for proper resting, and don't rush the process. The right amount of time and attention to detail will make your ribs stand out.
Whether you're a seasoned griller or new to BBQ, this recipe provides an excellent foundation for achieving delicious beef ribs every time. Adding BBQ sauce or your favorite seasoning combinations adds even more depth and customization to the dish, ensuring a unique flavor profile each time.
So, fire up your grill, prepare your ribs, and prepare for a feast that will impress your family and friends. Don't be afraid to experiment with different rubs, sauces, and sides to make the meal your own. The process is as enjoyable as the final result, and with a bit of practice, you'll be grilling beef ribs like a pro. Try this recipe at home and make your next BBQ gathering unforgettable!